How to Use Reawote Assets in Enscape
Set up Reawote PBR materials correctly in Enscape, from map assignment and surface detail to real-world texture scale.

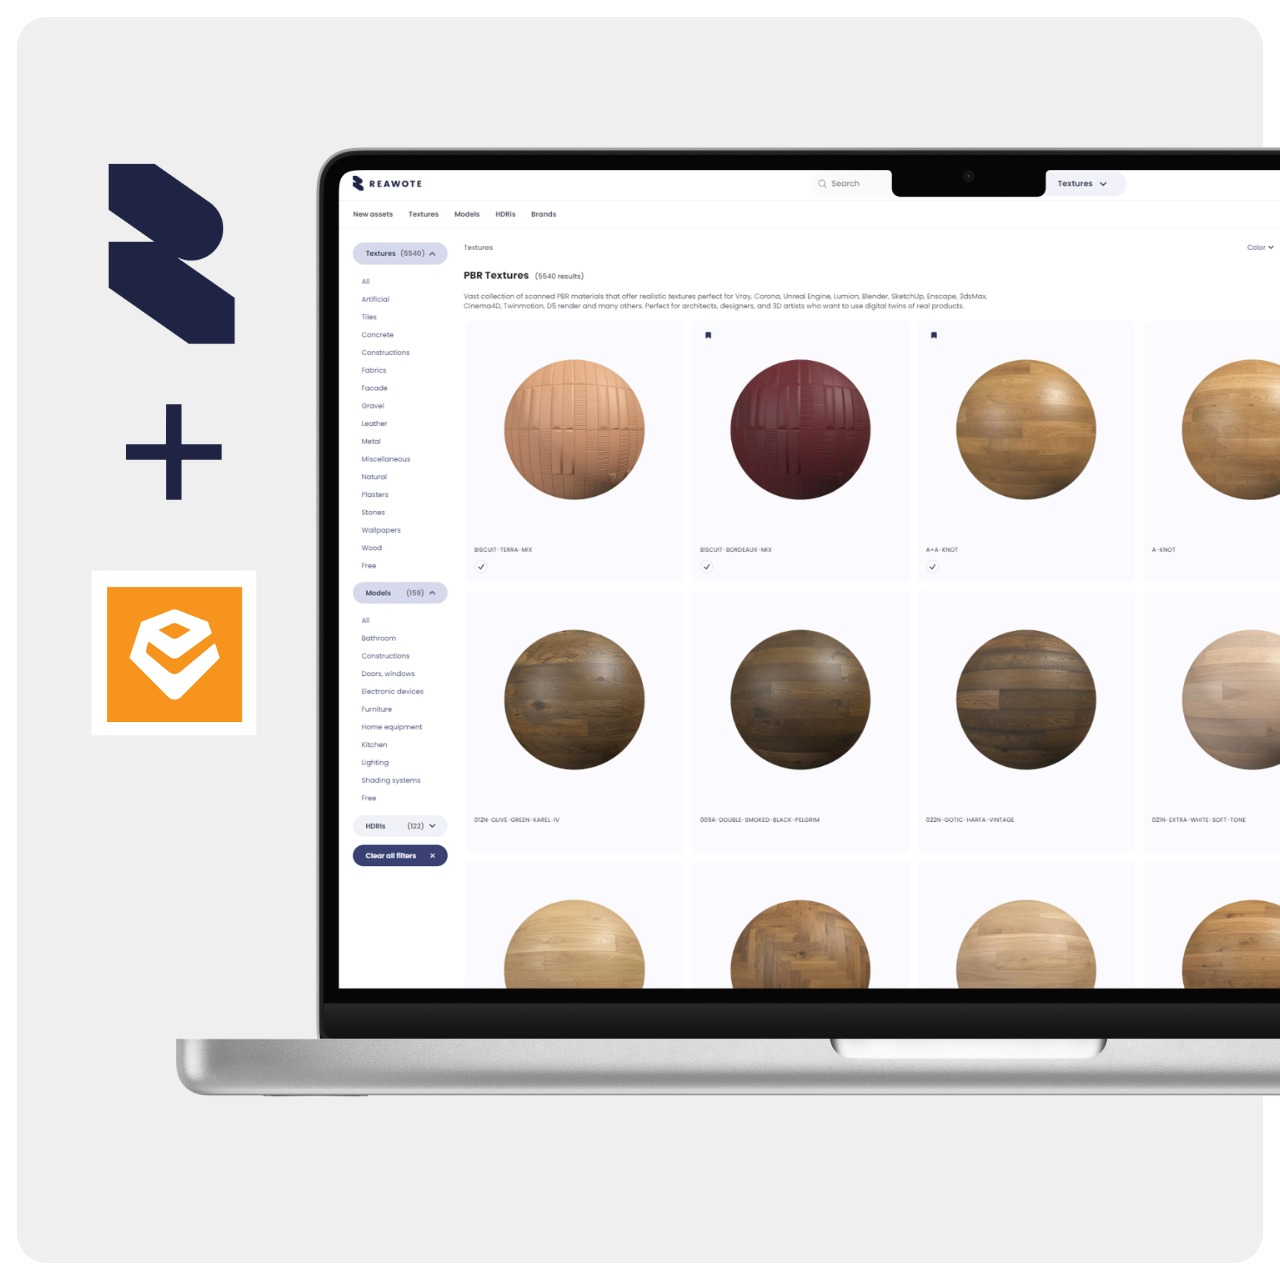
How to Use Reawote Assets in Enscape
A good material in Enscape should not need to be rebuilt from scratch before it starts looking convincing. Most of the work comes down to connecting the right Reawote maps, setting the surface detail correctly and matching the texture to its real-world size.
This guide uses Enscape for SketchUp, with the visual material refined directly in the Enscape Material Editor.
Once the maps are in the right places, the workflow is straightforward.
In short
- Use a Generic Enscape material for most Reawote surfaces and connect Color, Roughness, Normal and, where relevant, displacement and opacity.
- Reawote exports OpenGL Normal maps, which matches the convention used by Enscape. No green-channel conversion is needed.
- Match the material to the real Texture dimensions shown in Reawote instead of scaling it by eye.
Download the right Reawote maps
Before setting up the material, prepare the version of the Reawote asset that makes sense for your scene.
A Reawote PBR material is a set of texture maps describing different properties of the real surface. You do not need every available map in every project.
- Open the PBR asset you want to use in the Reawote library.
- Check its Resolution, Texture dimensions and Included maps.
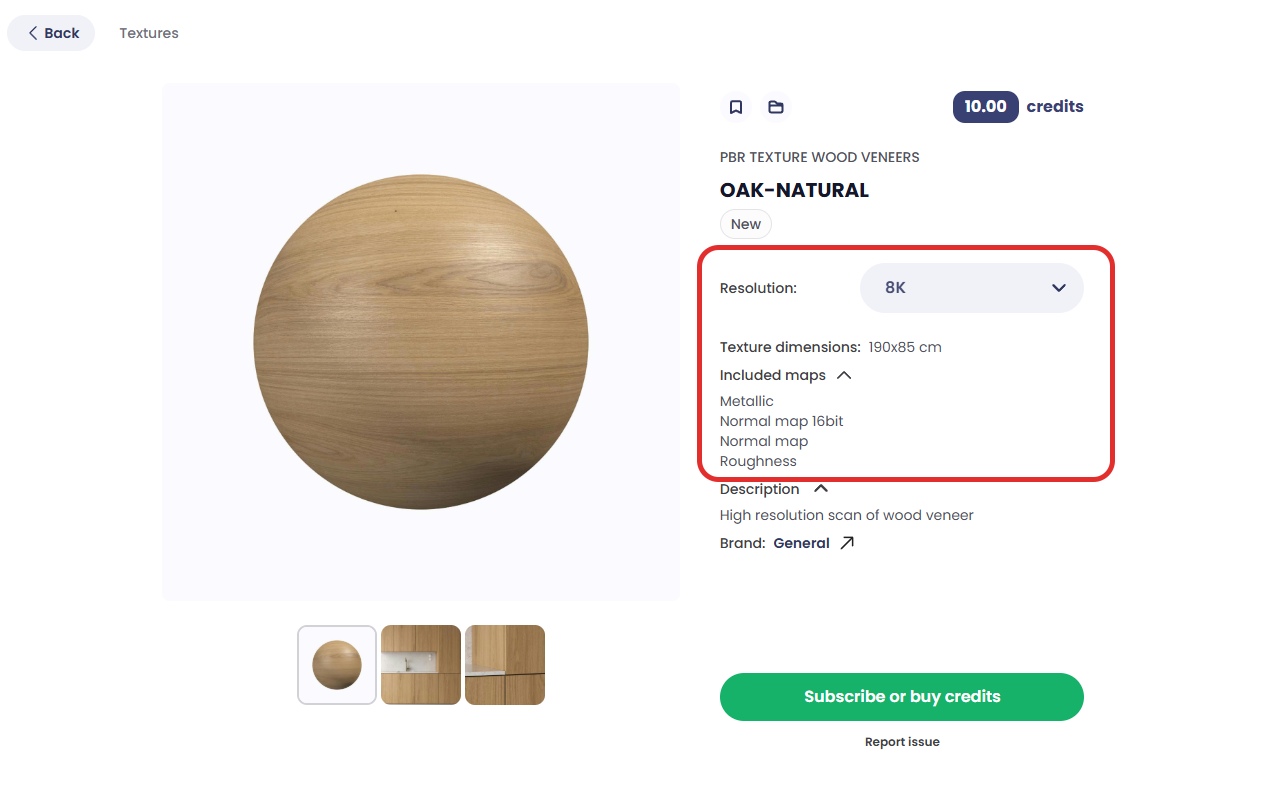
- Choose the resolution that fits the scene. 4K is a practical starting point for most architectural visualization work, while 8K is better suited to close-ups and surfaces where fine detail needs to hold up.
- Download the PBR material package.
- Prepare the maps that are relevant to the material:
- Color / Albedo → Albedo
- Roughness → Reflections → Texture
- Normal → Height → Type: Normal
- Metallic → Metallic slider for uniformly metallic surfaces
- Ambient Occlusion → no dedicated AO texture slot in the standard Enscape material
- Displacement / Height → Height → Type: Displacement
- Opacity → Transparency → Type: Cutout → Texture
Enscape's standard material does not expose a dedicated Metallic texture slot, so a Reawote metalness mask cannot be mapped one-to-one in the standard editor. Use the Metallic control when the surface itself is uniformly metallic.
If the Reawote package contains both Roughness and Glossiness, use Roughness directly.
Bring the material into Enscape and connect the PBR maps
In SketchUp, open the Enscape Material Editor from the Enscape toolbar or go to Extensions → Enscape → Enscape Material Editor.
- Open your SketchUp project.
- Open the Enscape Material Editor.
- Select the material assigned to the surface you want to edit.
- Set the material Type to Generic for a standard architectural surface.
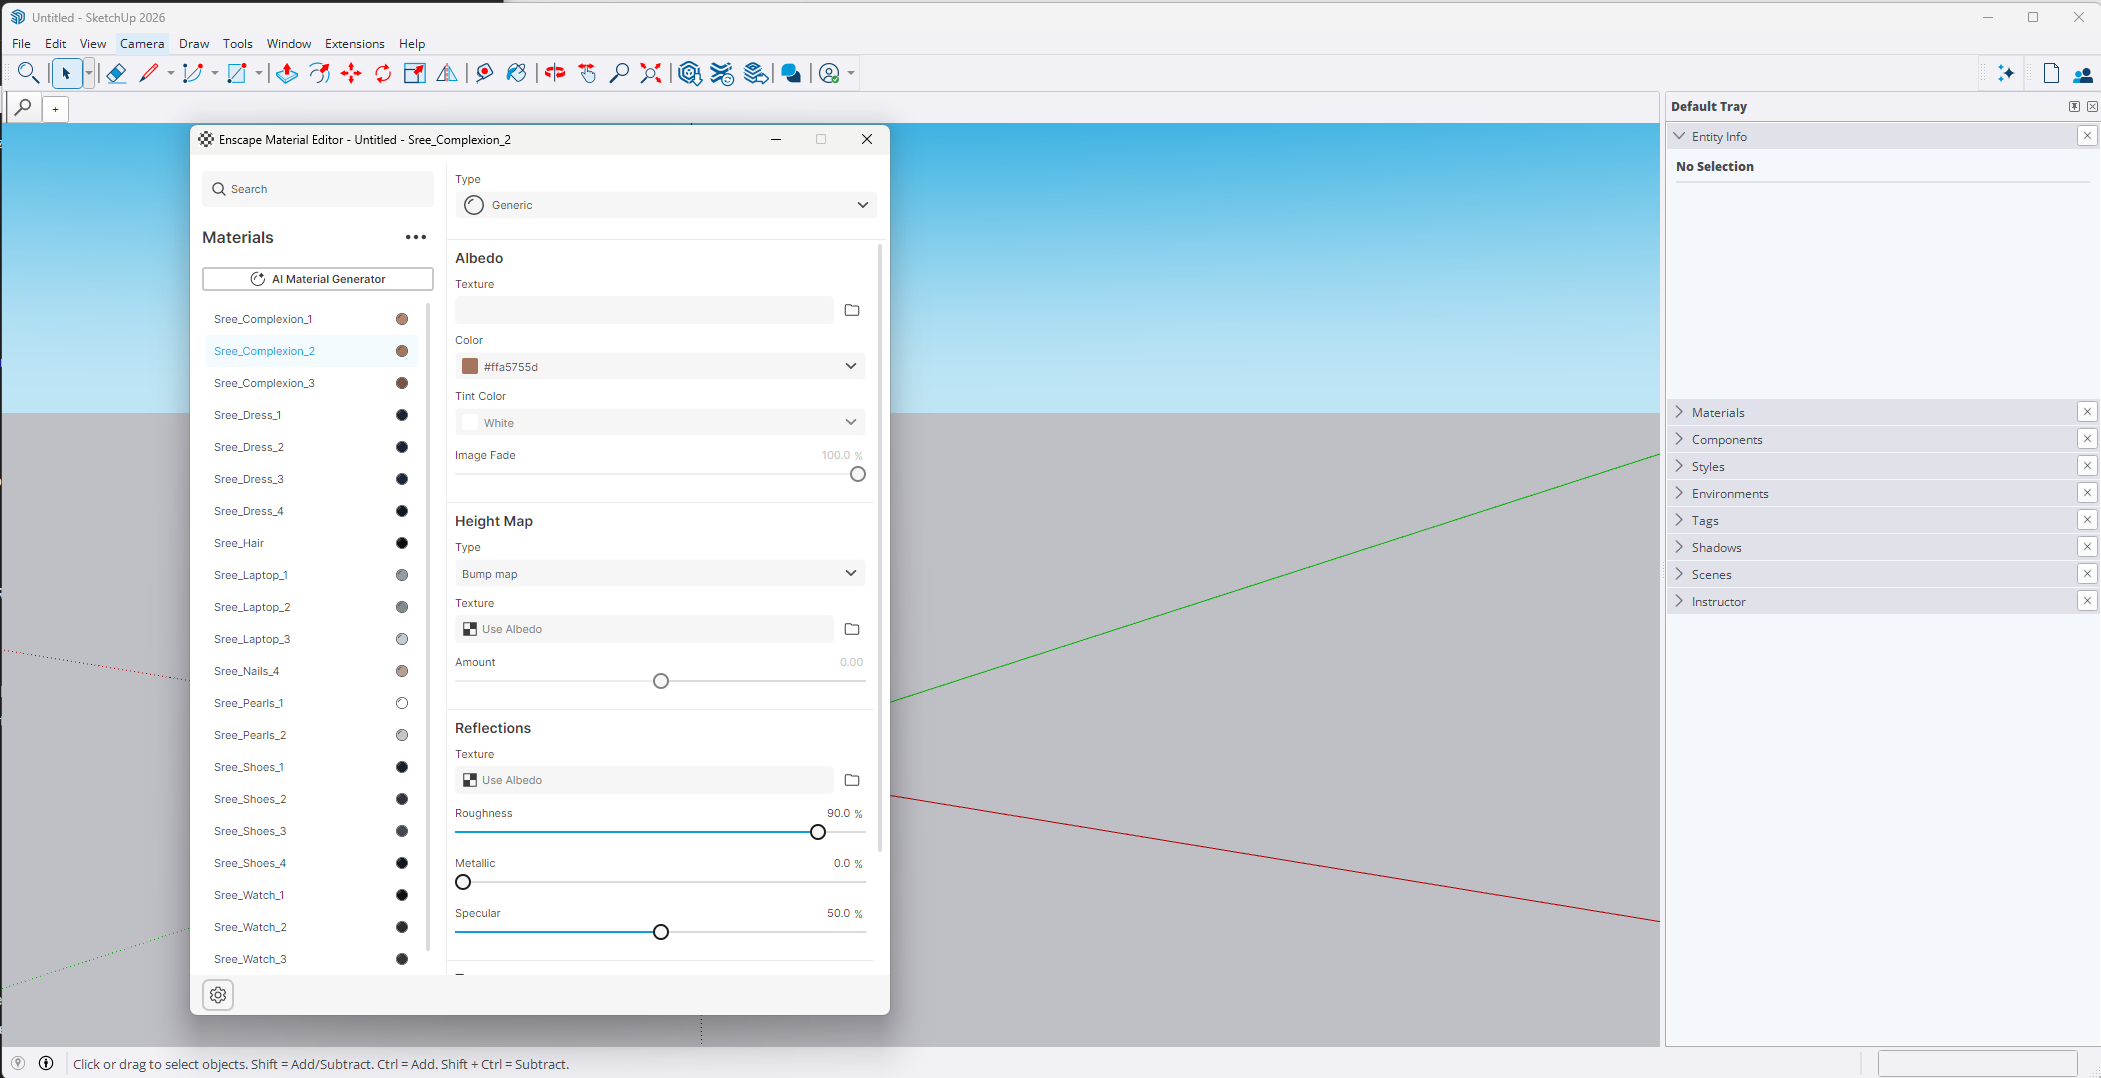
Base Color and Roughness
Load the Reawote Color / Albedo texture into Albedo.
Then load the Reawote Roughness map into the Texture input in Reflections. Roughness controls how sharp or soft the reflections appear across the surface.
Use the Reawote Roughness map directly. If you only have a Glossiness map, enable Inverted in the Texture Editor before using it as Roughness.
Normal and Displacement
For fine surface detail:
- Go to Height.
- Set Type to Normal.
- Load the Reawote Normal map.
- Adjust the Normal Amount only as much as needed.
For stronger surface relief:
- Set Height → Type to Displacement.
- Load the Reawote Displacement / Height map.
- Adjust the displacement Amount until the relief matches the real surface.
Enscape uses parallax displacement rather than changing the actual model geometry, which keeps the effect efficient for real-time visualization.
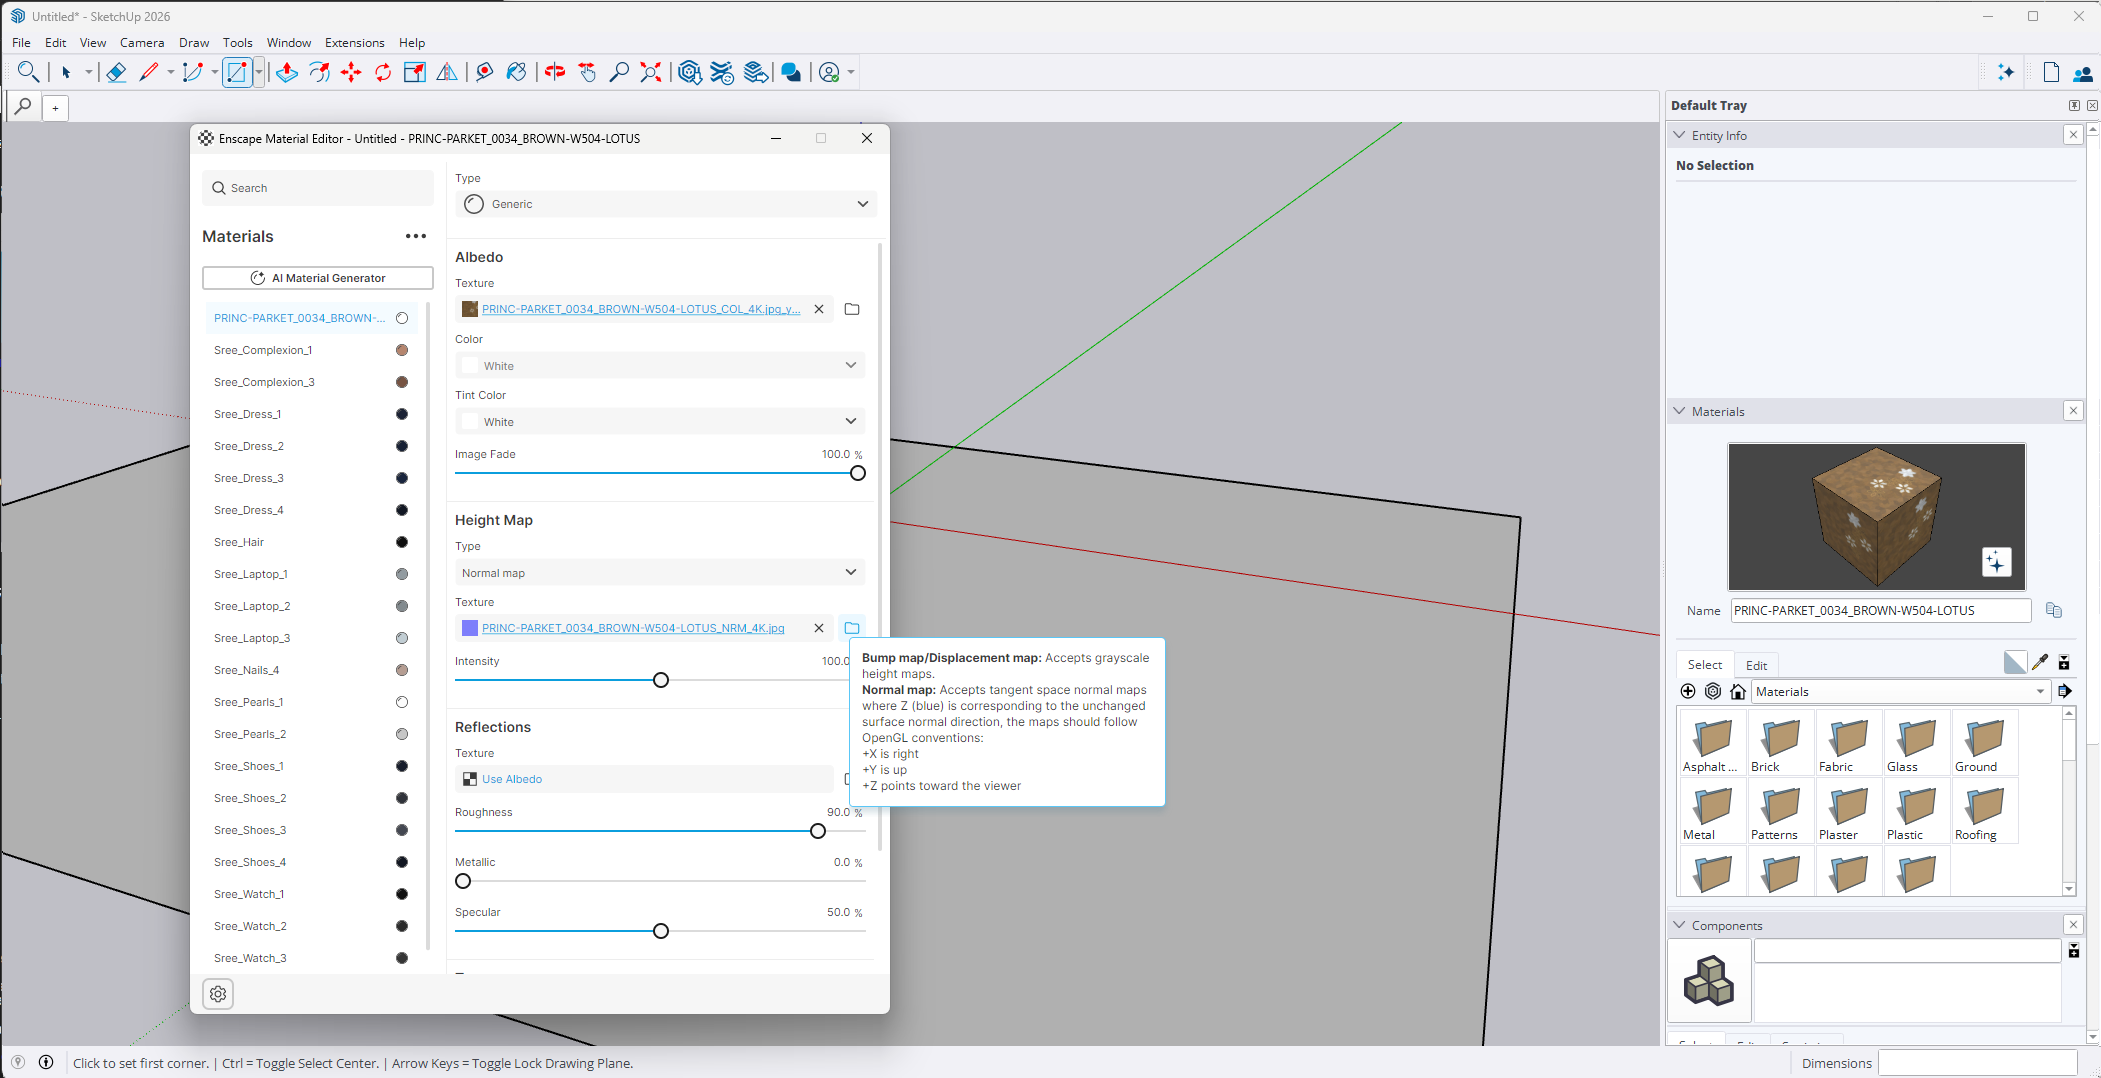
Metallic, AO and Opacity
For a uniformly metallic surface, use the Metallic slider in Reflections. Keep wood, stone, plaster, ceramic and other non-metals non-metallic.
Enscape's standard Material Editor does not provide a dedicated AO texture slot, so leave the Reawote AO map unused rather than forcing it into another input.
For perforated panels, mesh, lace or other cutout materials, set Transparency → Type to Cutout and load the Reawote Opacity map into Texture.
Use Enscape's transparent or transmittance settings instead for materials that are physically transparent rather than simply cut out.
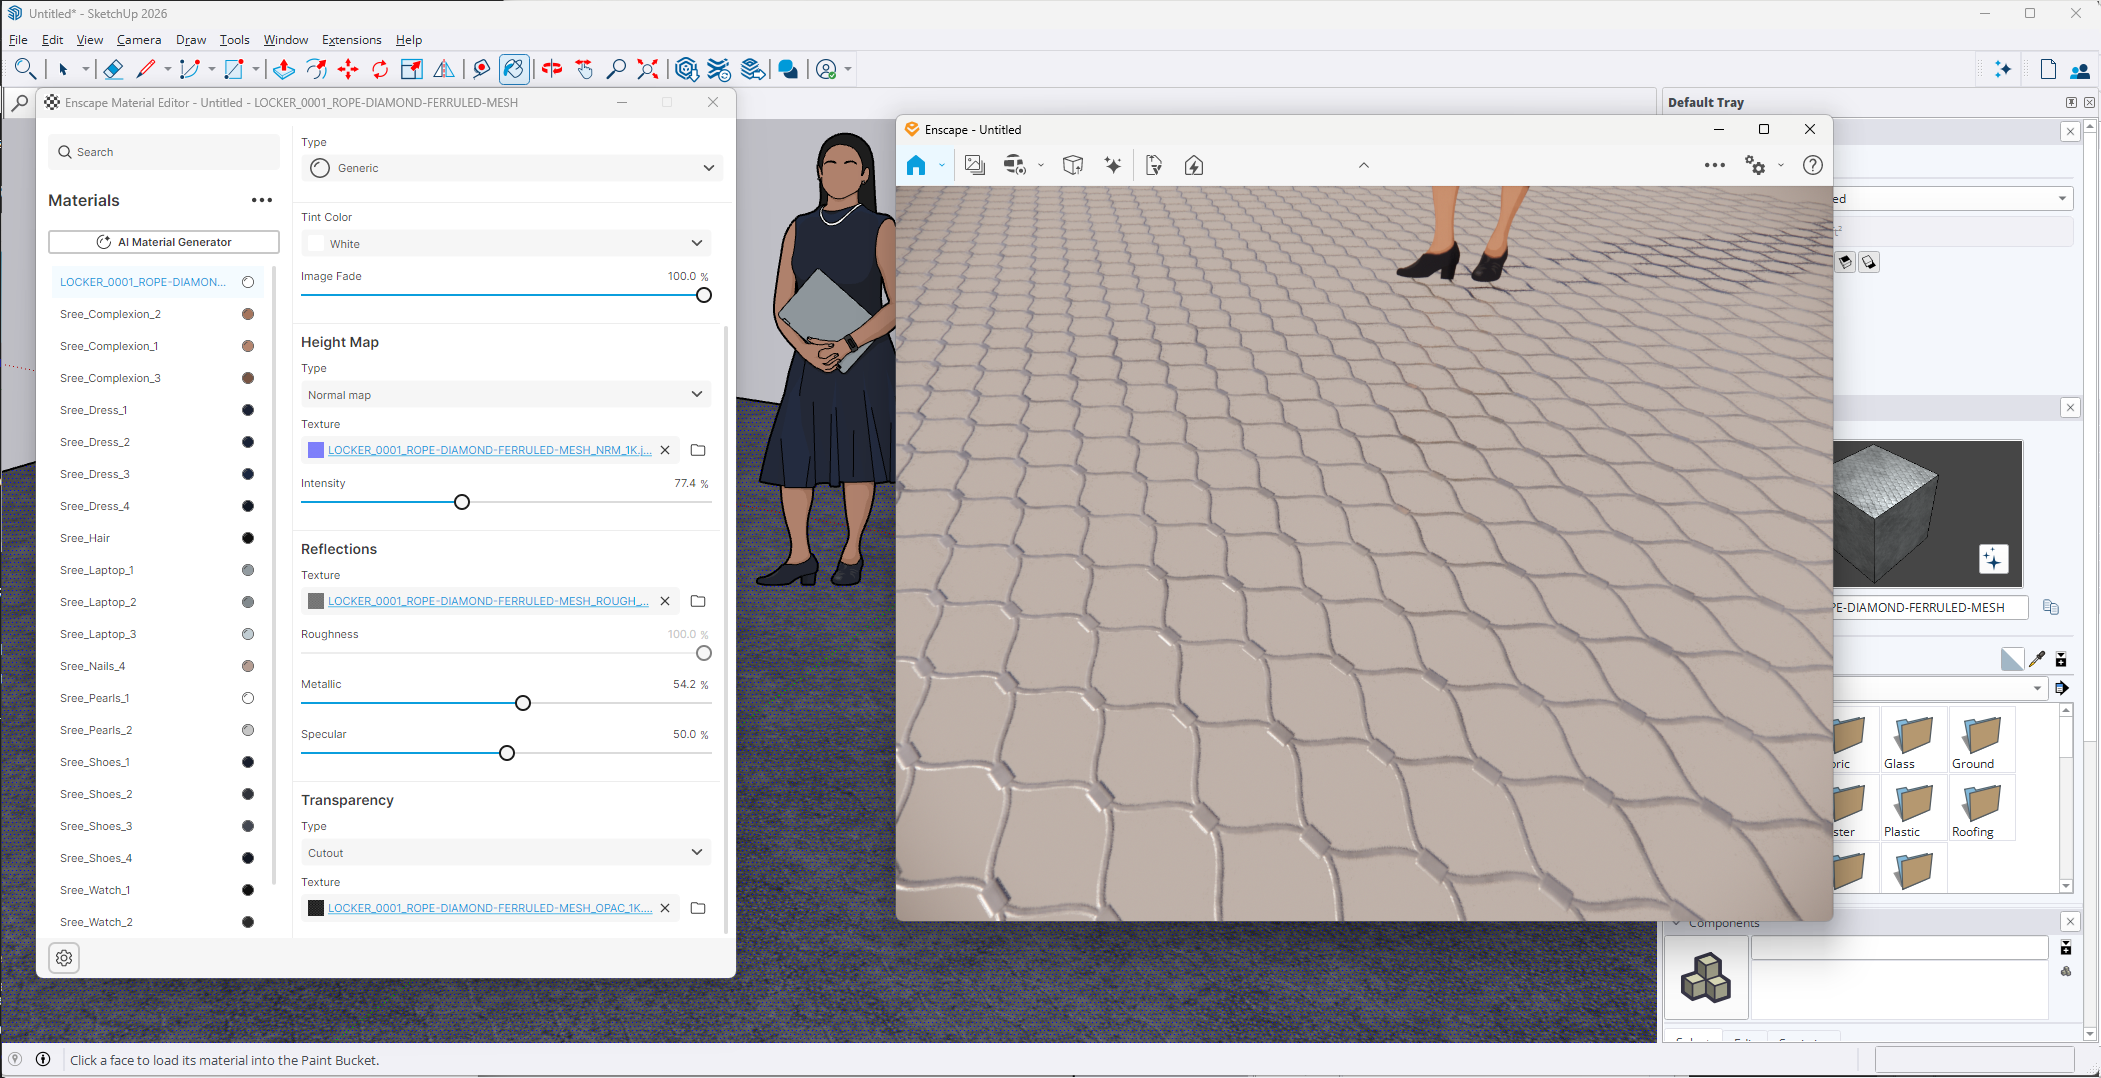
Get the Normal map direction right
Reawote exports Normal maps in OpenGL format, which matches the convention used by Enscape.
- Go to Height.
- Set Type to Normal.
- Load the Reawote Normal map.
- Adjust the Normal Amount only as much as the real surface requires.
No green-channel conversion is needed.
Match the material to its real-world scale
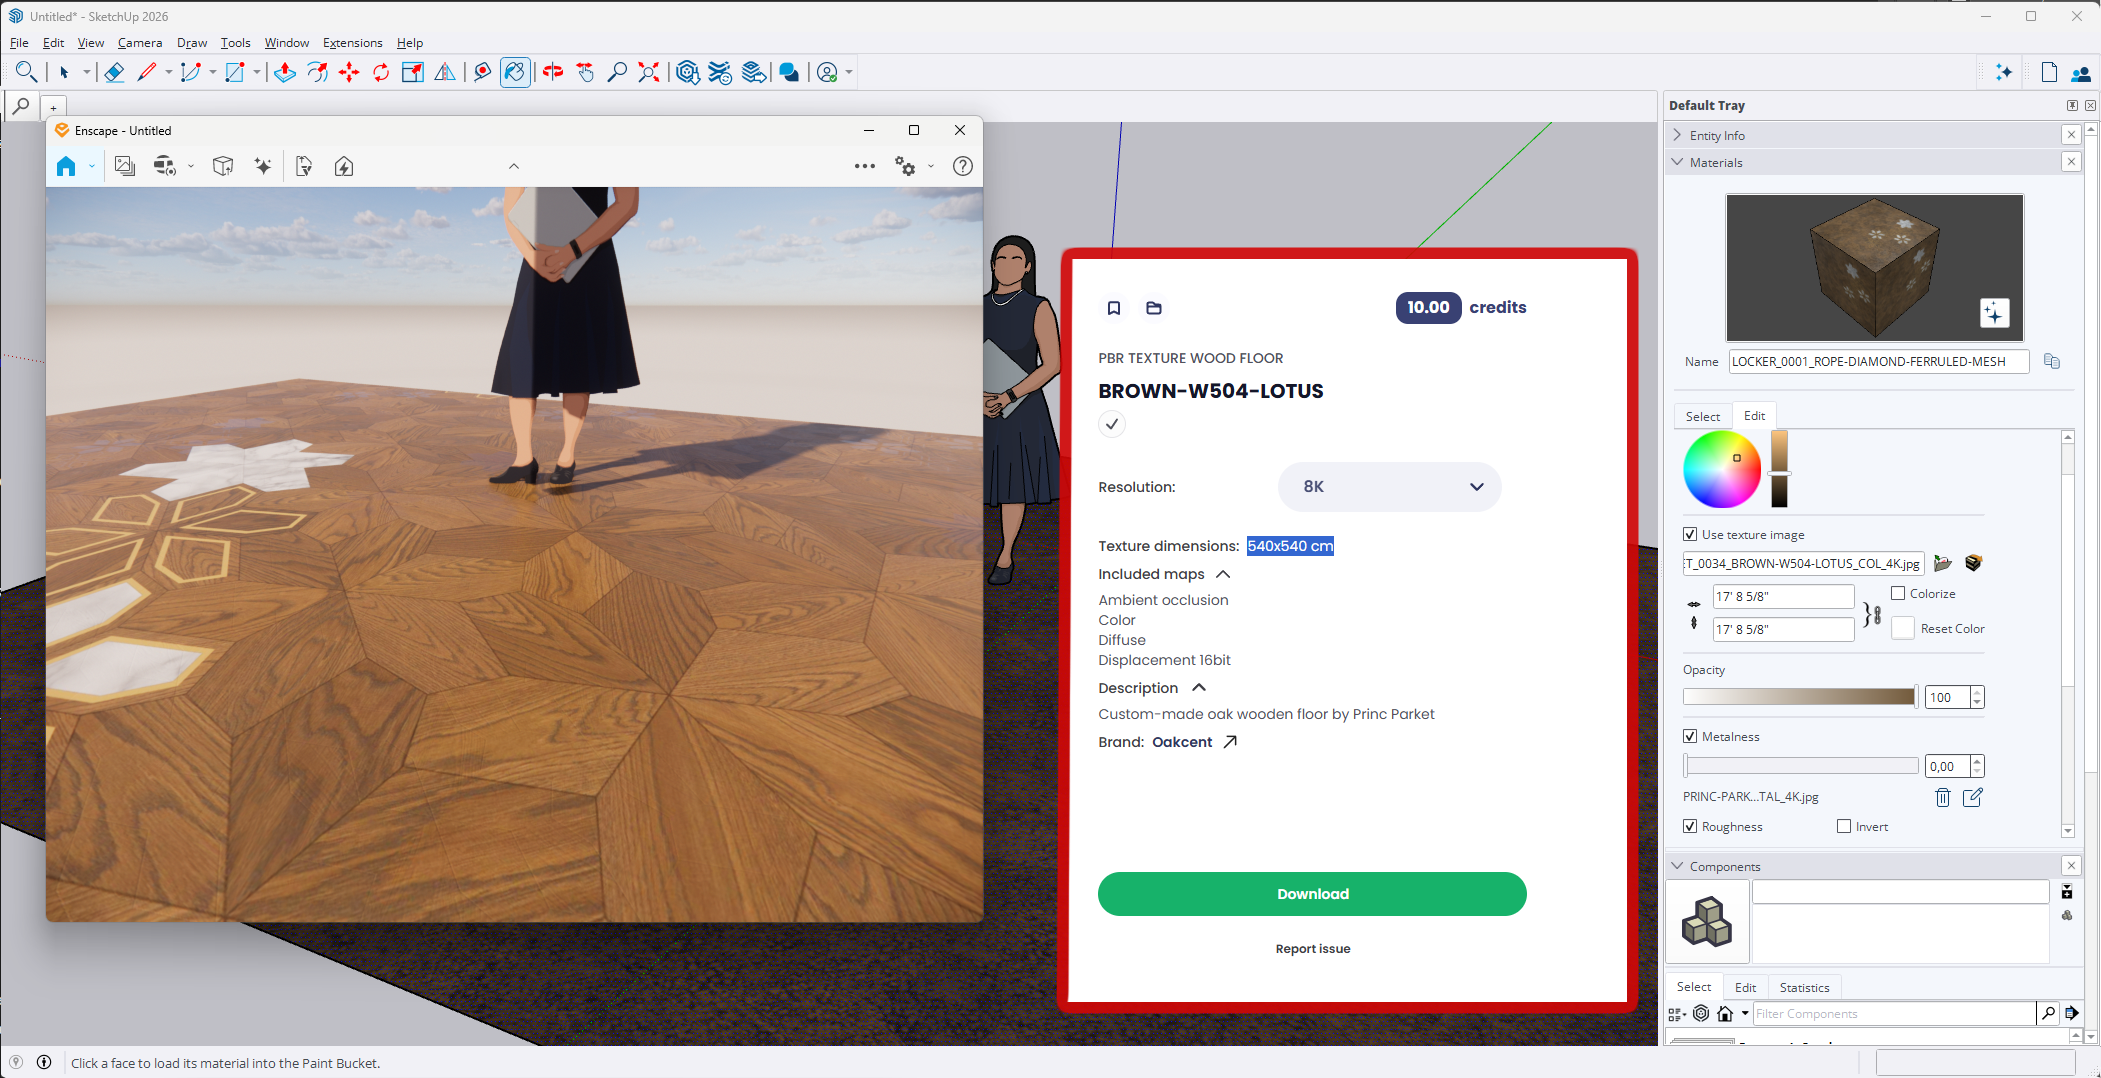
Reawote lists the real Texture dimensions for each material, so you can match the digital surface to the actual product instead of guessing.
- Check the Texture dimensions on the Reawote asset page.
- In the Enscape Material Editor, open the texture's Texture Editor.
- Enable Explicit Texture Transformation.
- Set Width and Height to match the real Reawote texture dimensions.
- Keep the same transformation across the other material maps so they stay aligned.
Fix the most common material problems
Most issues come down to a few simple checks:
- Surface detail looks wrong — make sure the Reawote Normal map is loaded under Height → Type: Normal. No OpenGL-to-DirectX conversion is required.
- Material looks too glossy — make sure the Roughness map is loaded in Reflections → Texture. If you use Glossiness instead, enable Inverted in the Texture Editor.
- Wood, stone or plaster looks metallic — lower Metallic; use Roughness to control reflections on non-metals.
- Pattern looks too large or too small — match Width and Height under Explicit Texture Transformation to the Texture dimensions shown in Reawote.
- Displacement or opacity is not behaving as expected — check the selected Height Type and remember that Enscape displacement is incompatible with transparent materials.
Save the finished material for the next project
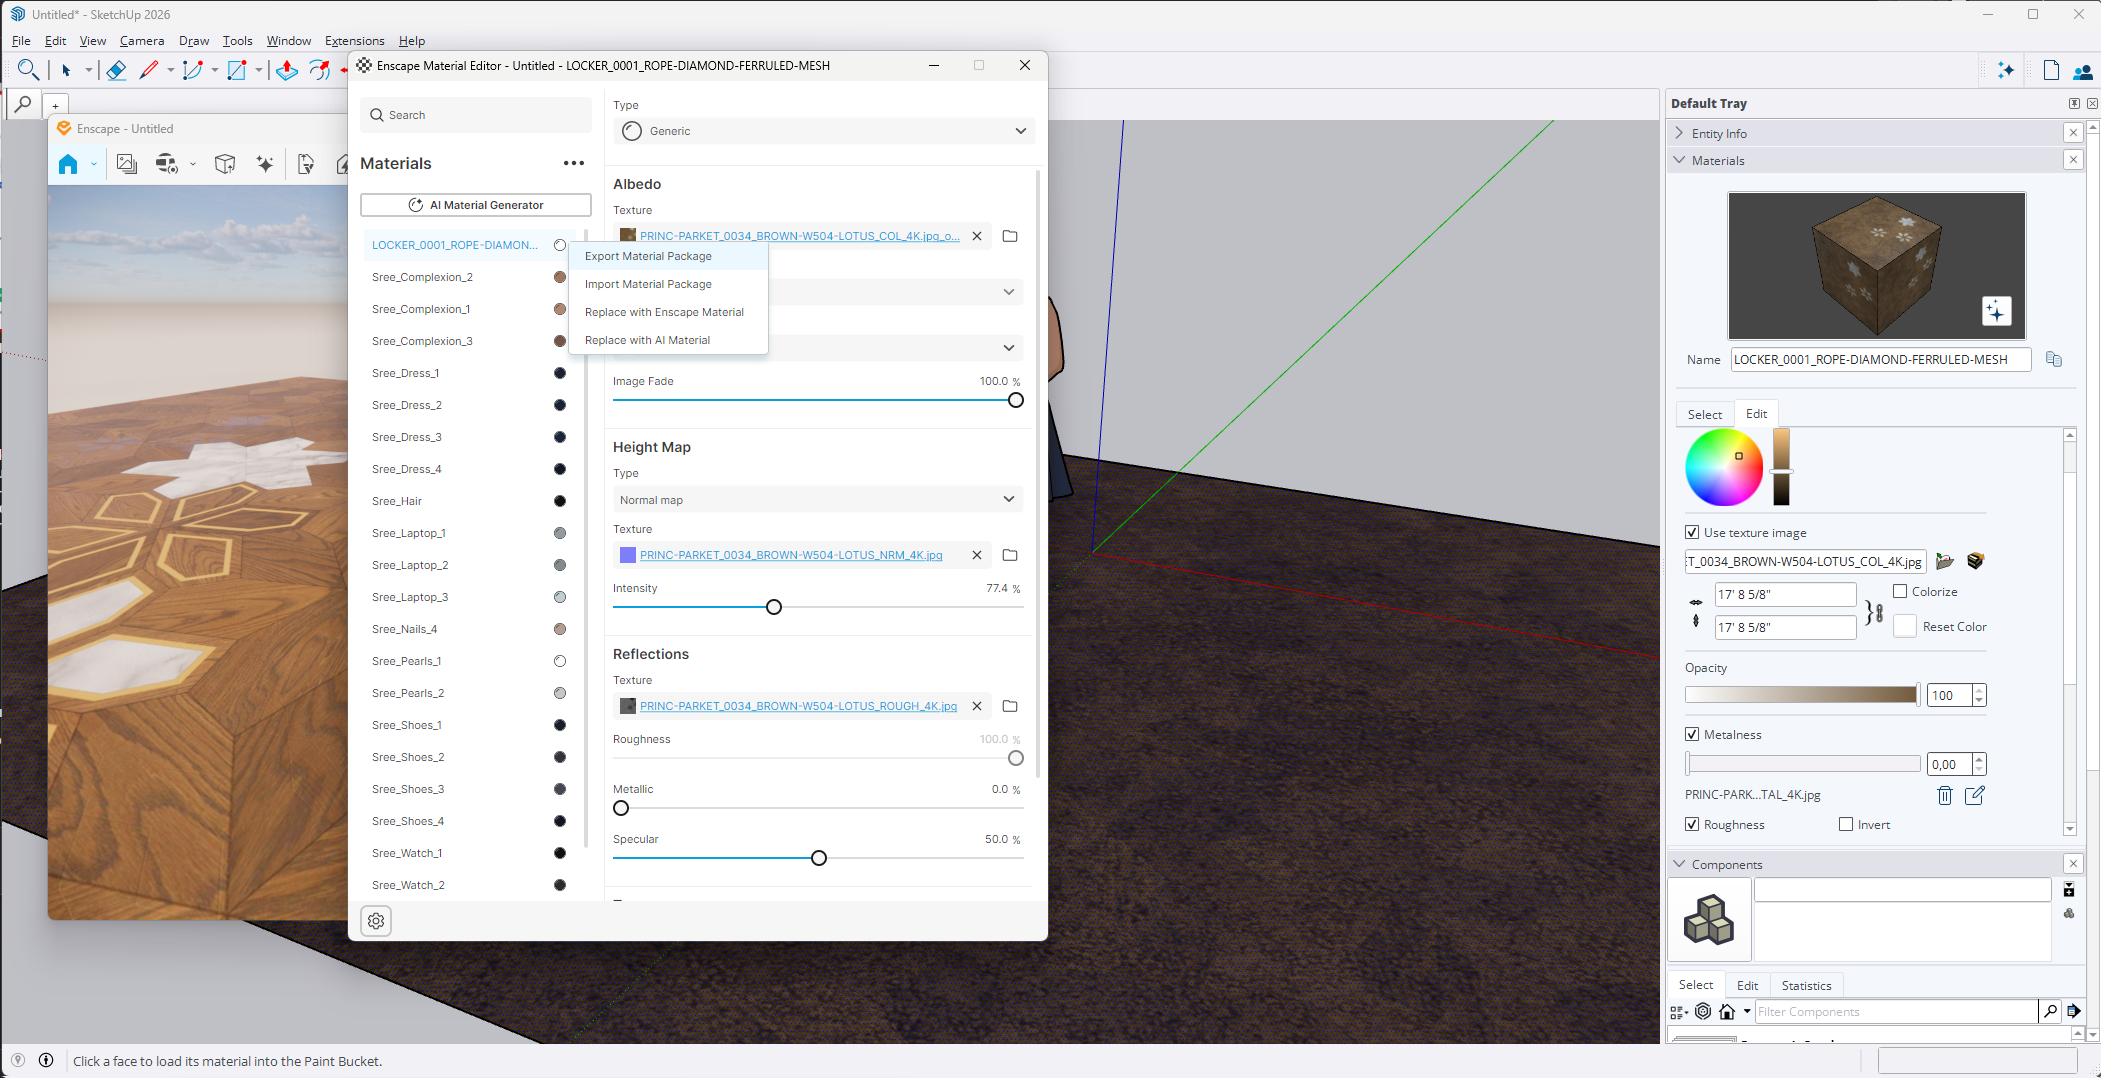
Once the material is mapped and adjusted correctly, export it so you do not need to rebuild it in the next project.
- In the Enscape Material Editor, open the three-dot menu for the finished material.
- Choose Export Material Package.
- Save the material as a .matpkg file.
- Reuse it later with Import Material Package or Batch Import.
Once you know where the maps belong, the workflow becomes simple: download the Reawote asset, connect the maps, match the scale and save the finished material for later.
Less rebuilding. Less guessing. More time designing.
Related posts

Join our community and stay updated on all things 3D
Sign up to our newsletter.


Build a better world with real-world 3D detail
Step into the digital world and explore new ways to create, present, and distribute products — without limits or physical constraints.